Form Popup Demo
This demo page shows the popup which contains a form.
The plugin accepts third-party plugins shortcodes, so you can use any plugin on your choice to embed a form into popup.
You can also create a form using our Popup Form Builder add-on. It's highly flexible and allows you to build a custom form that suits your needs and receive gathered data to the defined email.
How was it made?
When the add-on is installed along with the base plugin, click "Forms" in the plugin menu, then "Add Form".
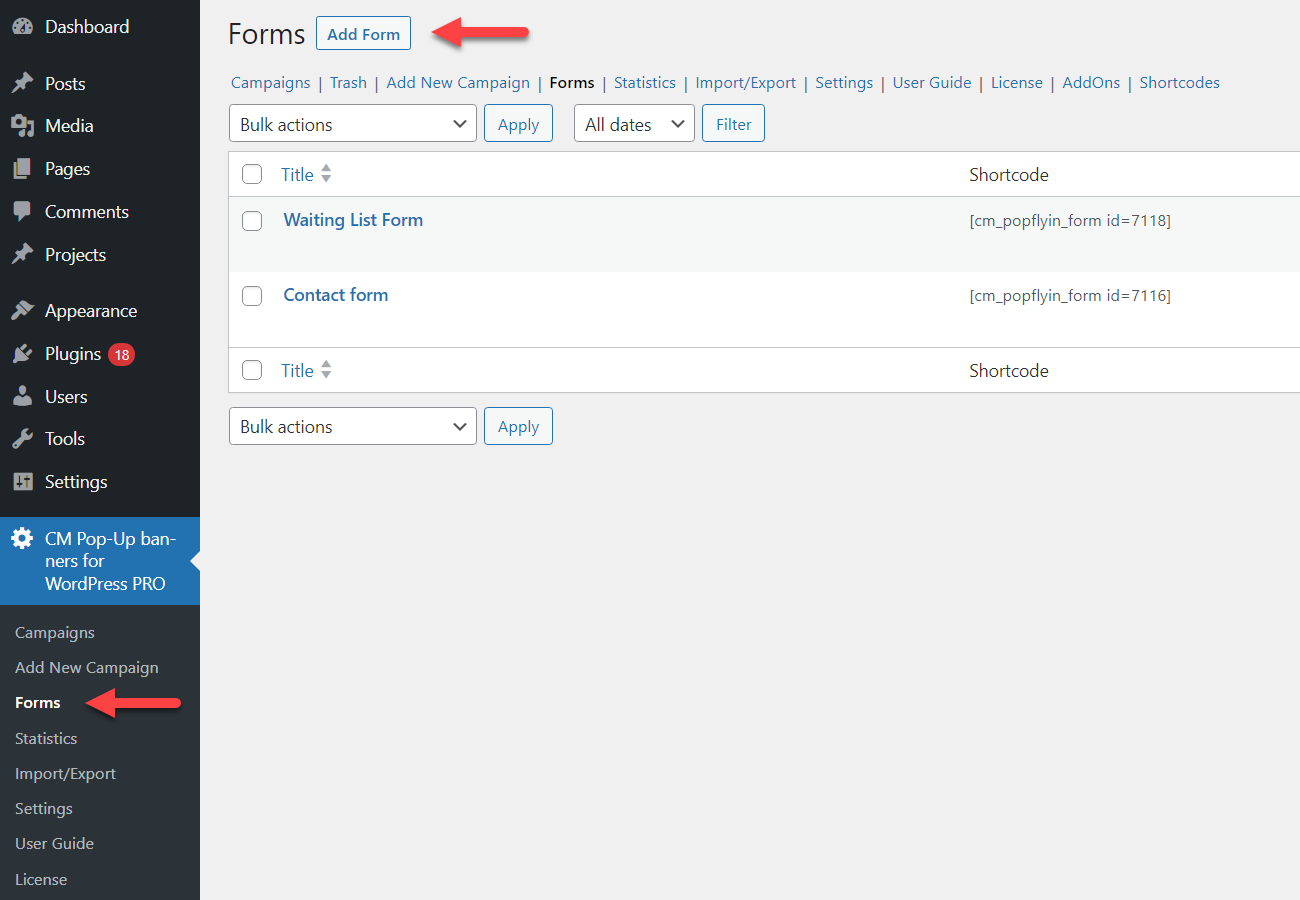
There you will see a drag-and-drop builder with a variety of field types.
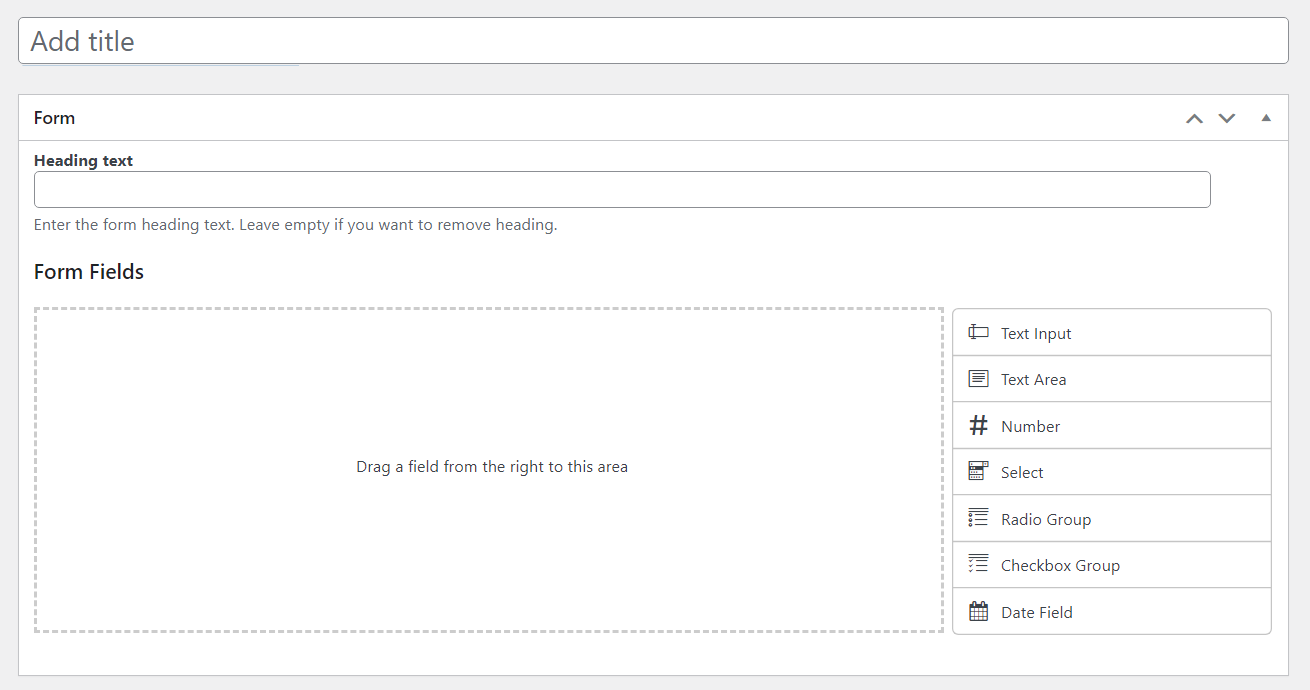
Above the builder you need to add an internal title for the form, and optionally you can add a heading text which can be displayed in the form.
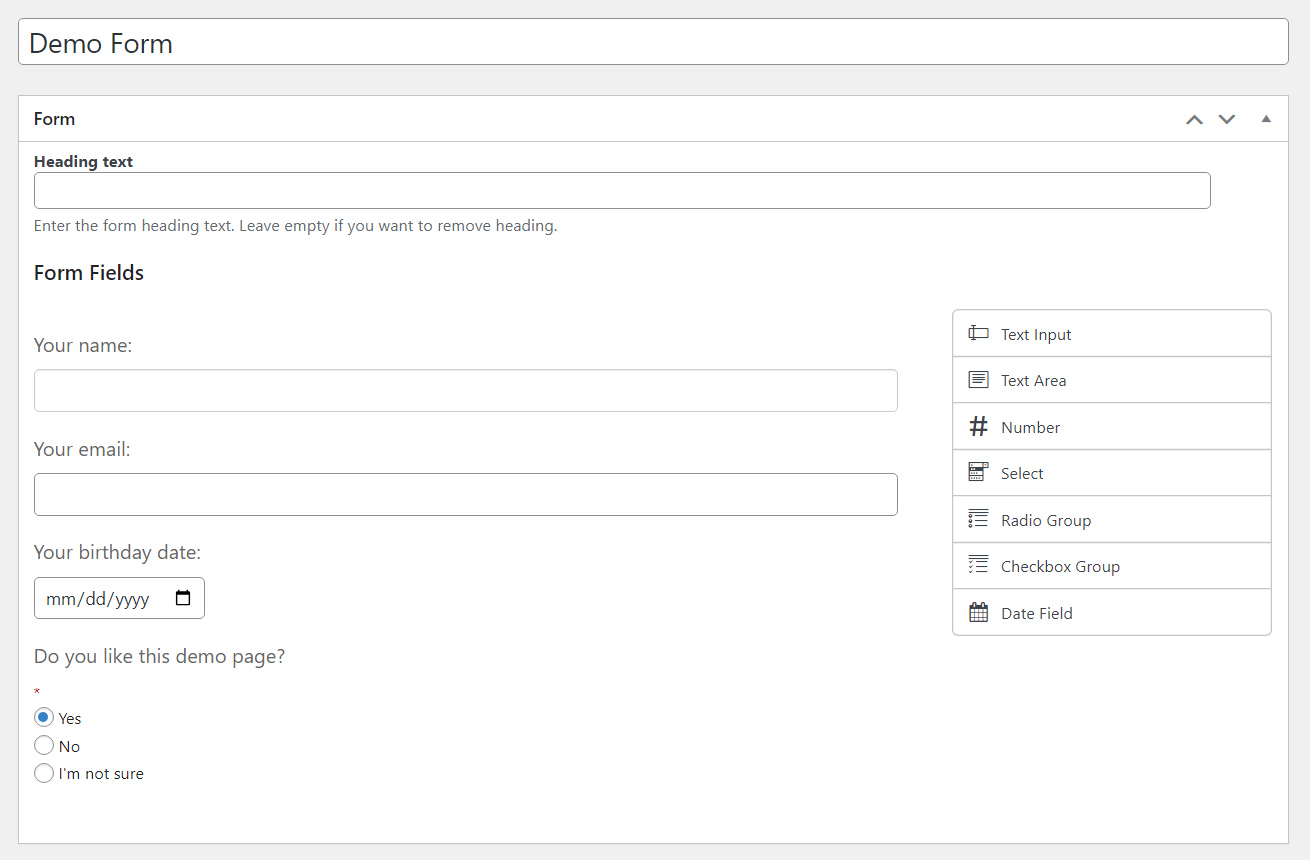
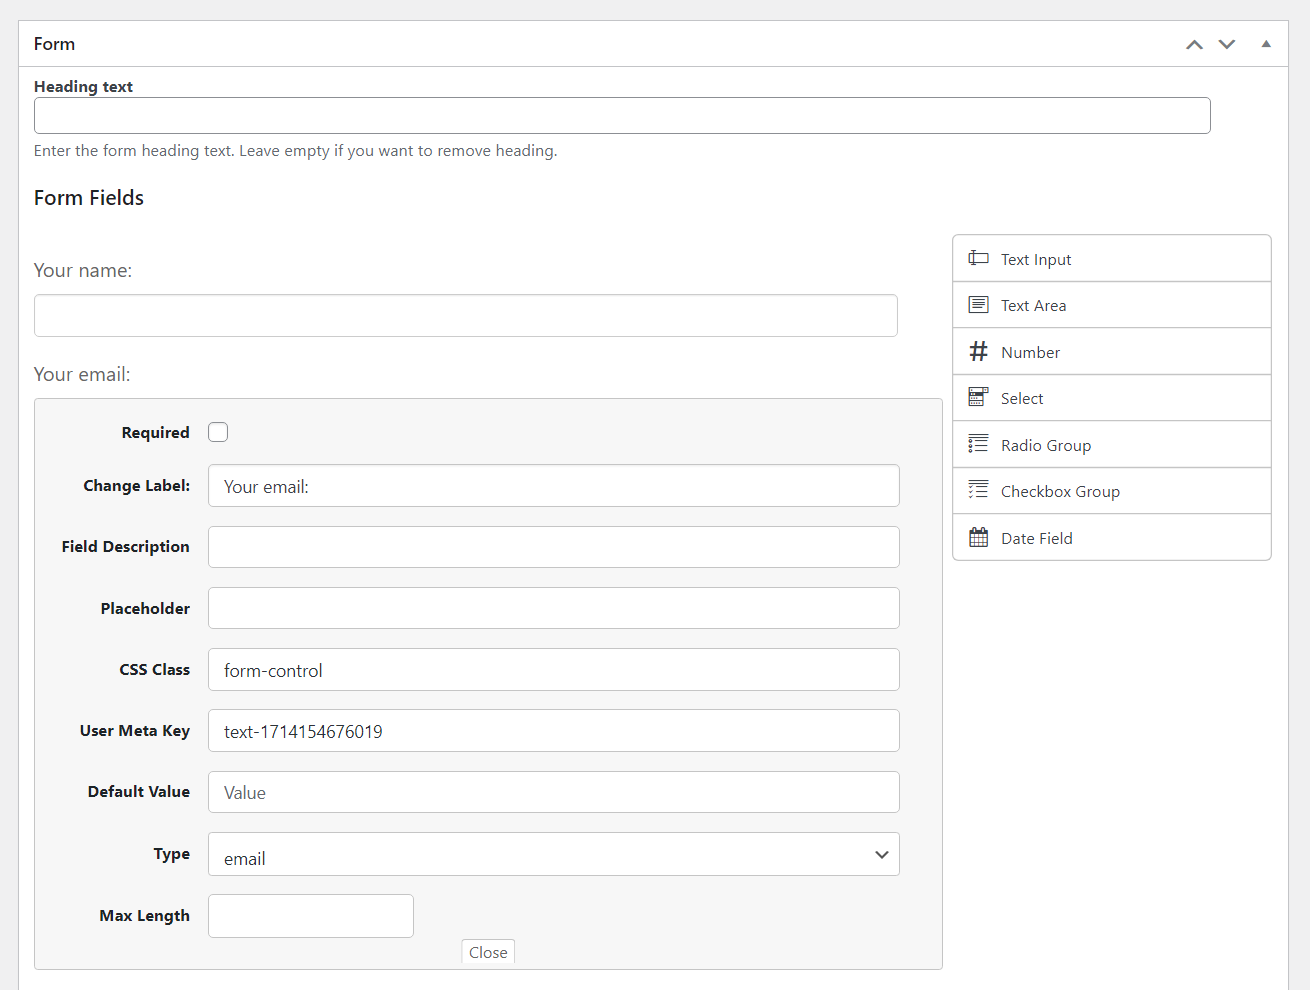
Each field can be customized - change its name, description, placeholder, type, etc. Also, you can easily change the order of fields in the form.
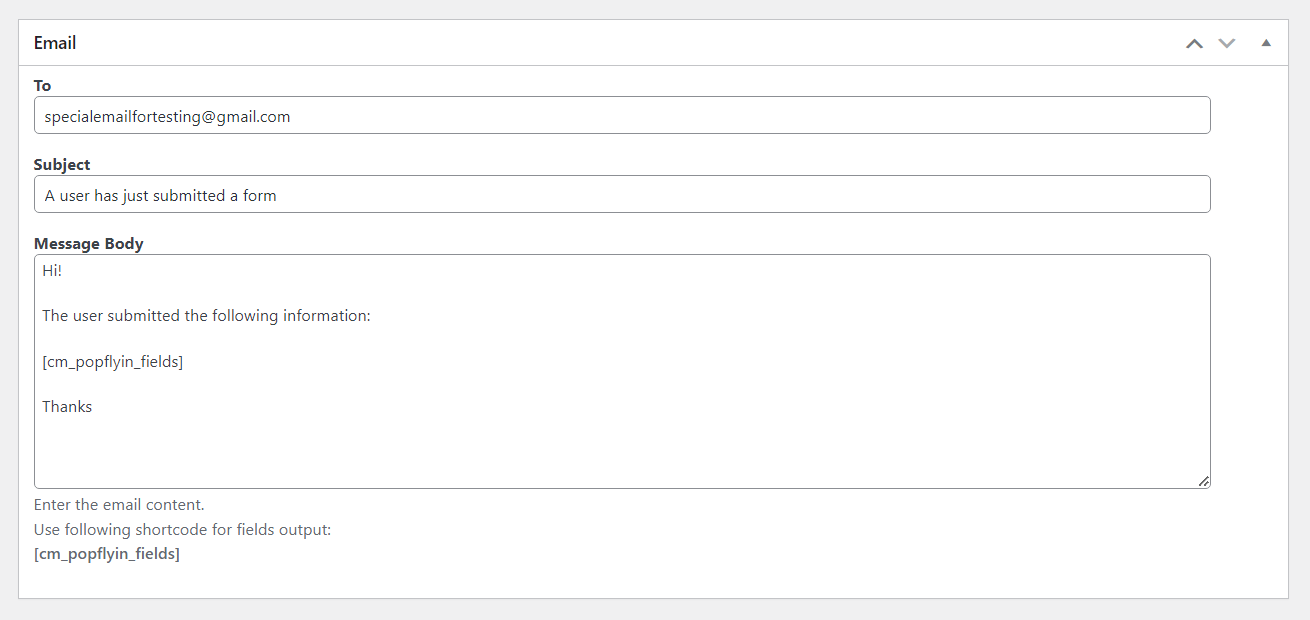
Below the form builder, you can configure who will recieve an email with gathered data and you can customize the email template.
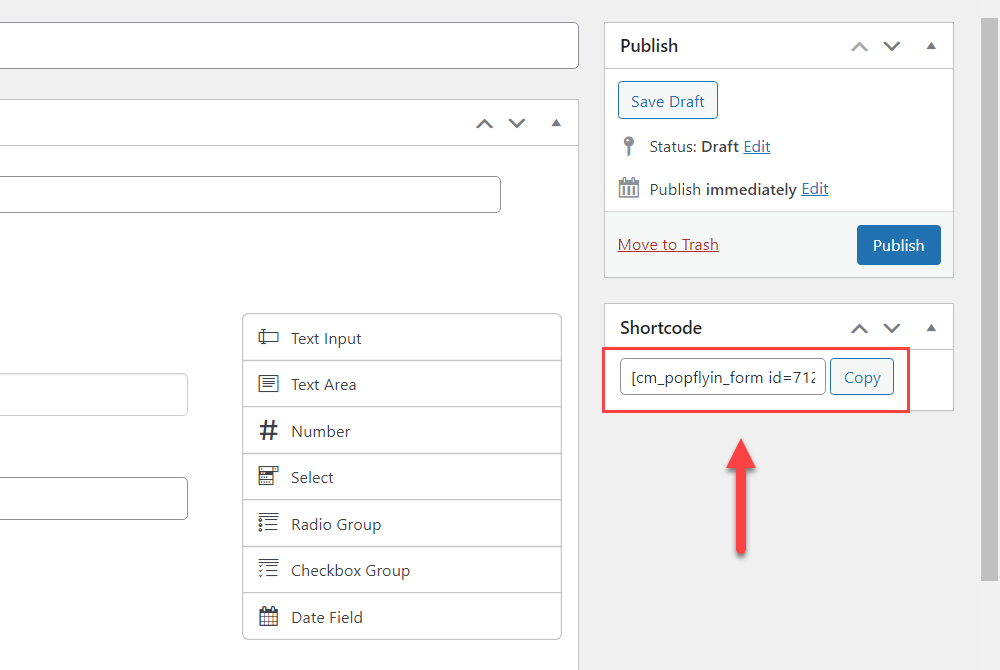
The form can be embedded into the popup using a shortcode with the form ID. You can find and copy that shortcode on the right side in the relevant metabox.
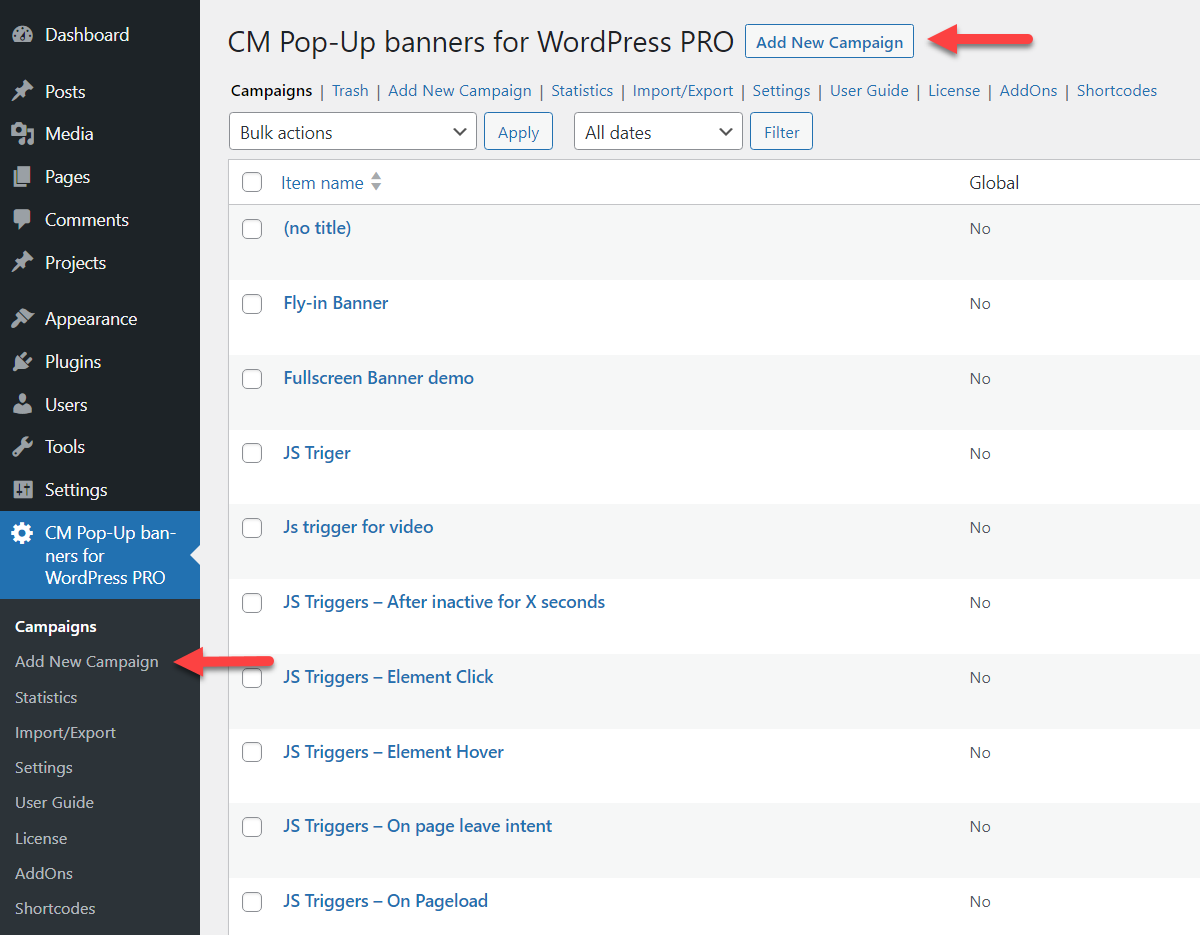
Now it's time to create a popup. To create new popup, click "Add New Campaign" in the plugin menu or on the "Campaigns" page.
There will be a form for adding popup banners and options for setting up these popups.
For the current campaign, we added a title (which is for the back-end usage only) and the popup content itself - some text that we want to show before the form, and a shortcode to display the form.
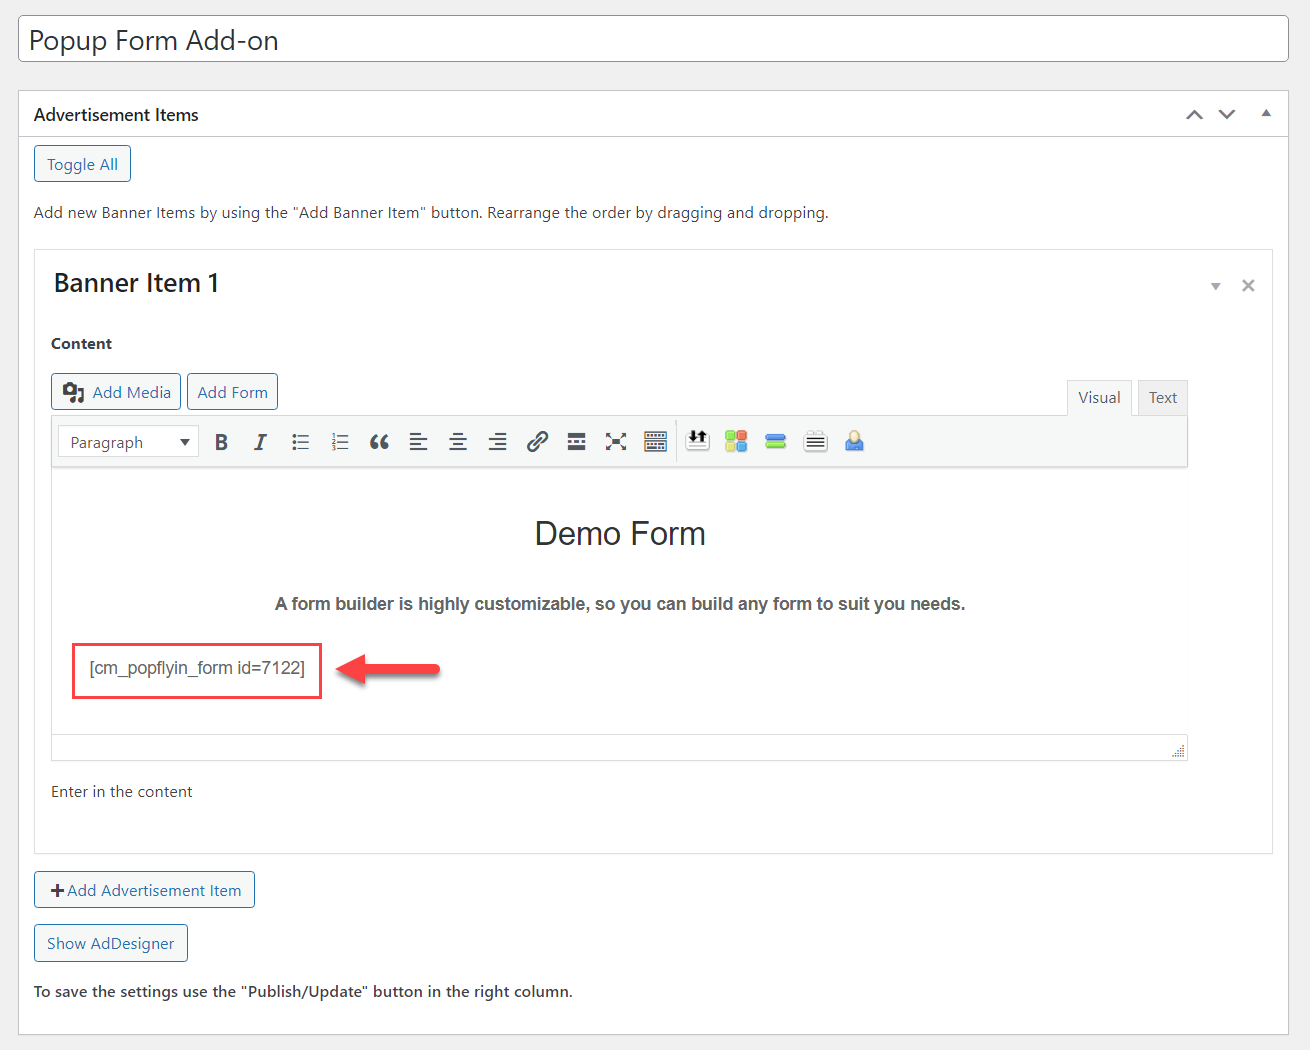
You can either copy and paste the form shortcode manually, or just click "Add Form" in the banner builder, and choose the needed form in the appearing window - the shortcode will be added to the banner automatically.
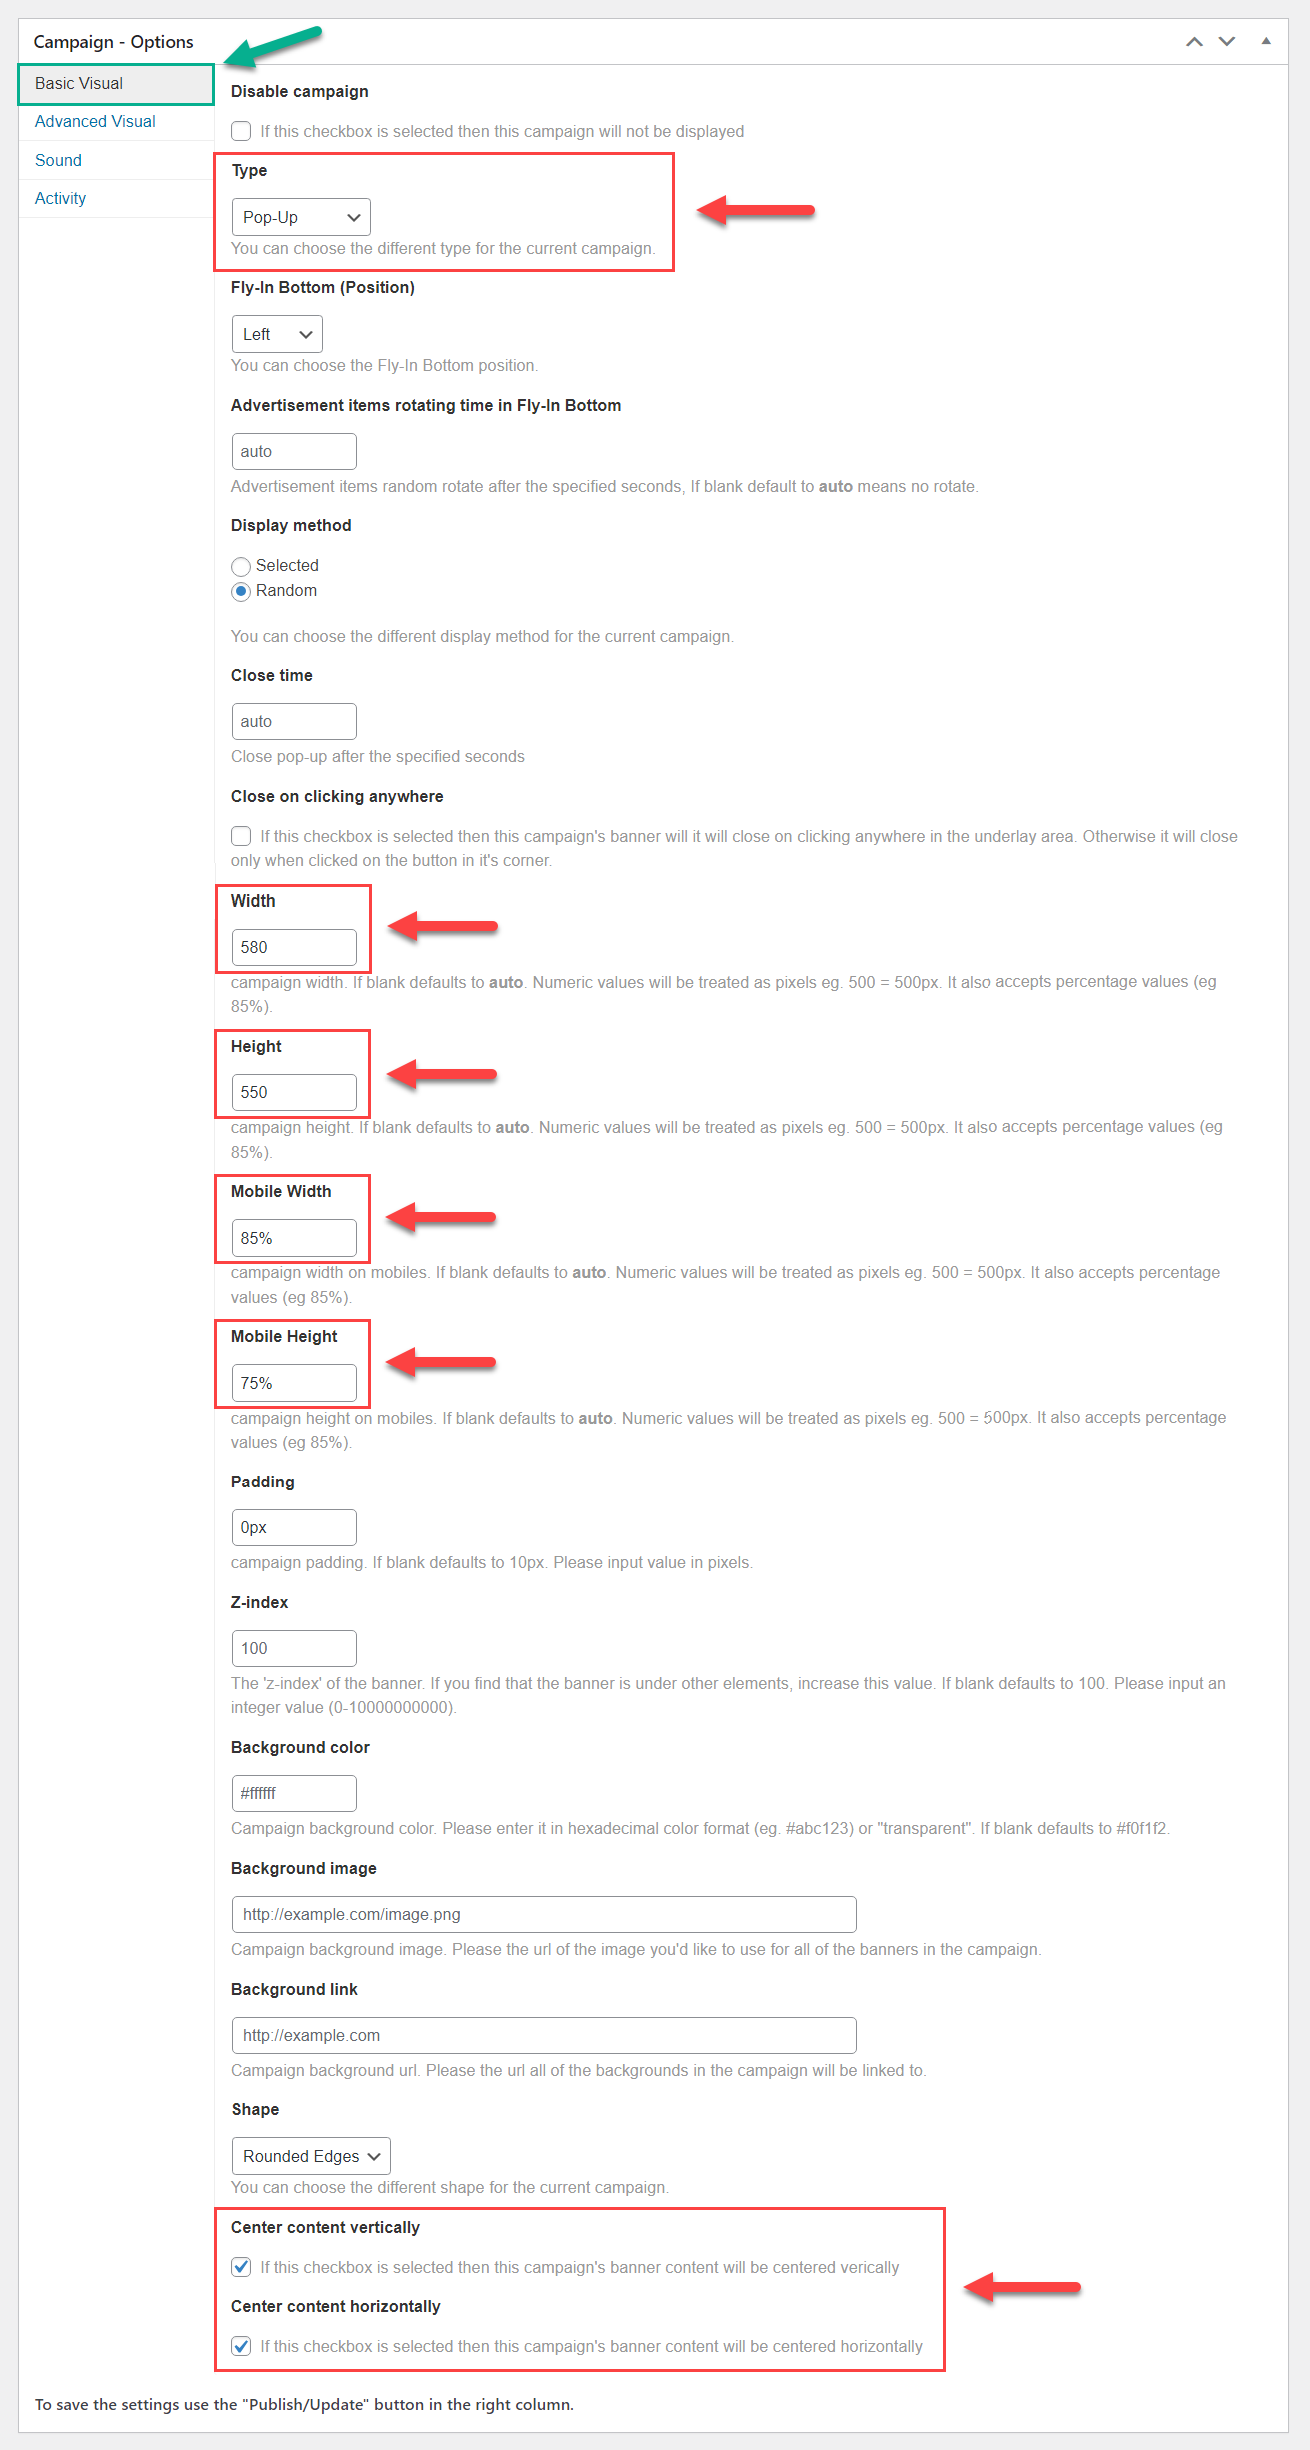
The campaign options section consists of a few tabs. The first one is "Basic Visual".
Here we did the following: chose the popup type, specified the popup width and height, additionaly defined the width and heigth for mobile devices, and centered the content vertically and horizontally.
This tab has much more options for setting up the appearance of the popup.
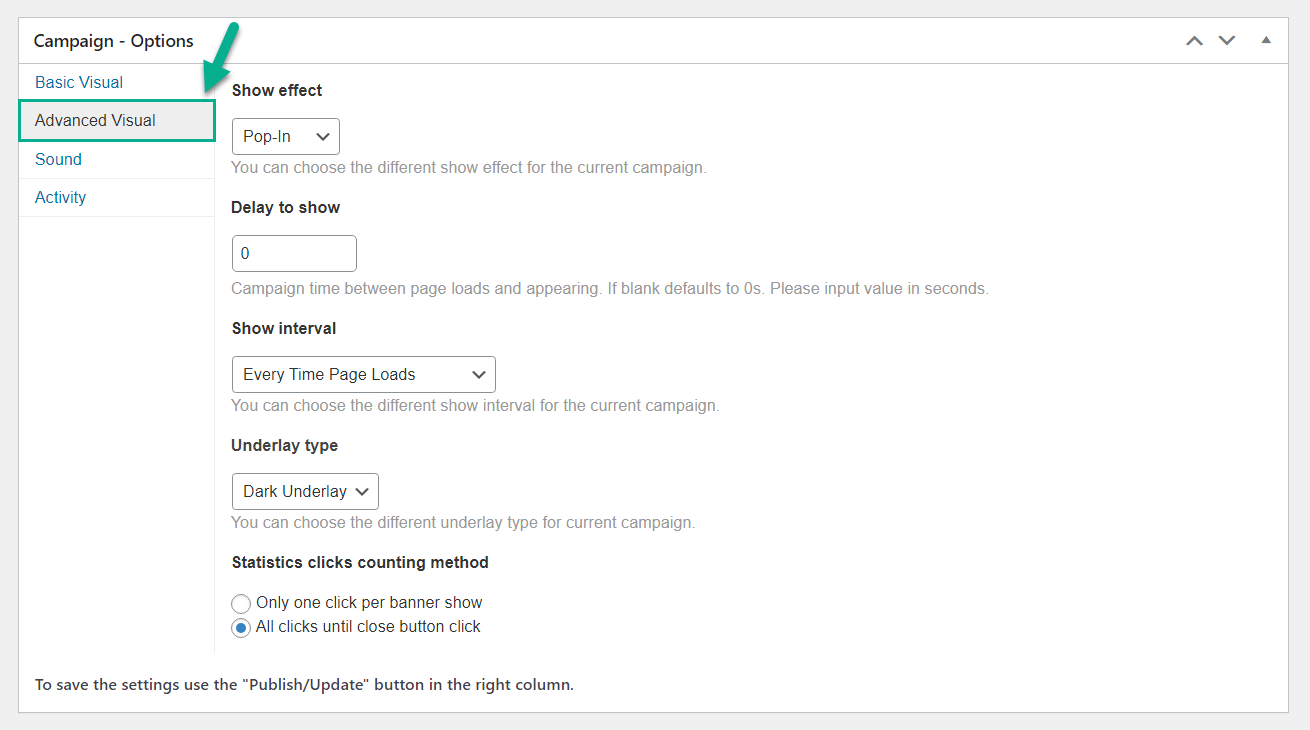
The second tab is "Advanced Visual". We didn't change here anything, but the options here allow you to choose the popup show effect, define the delay time, specify how often to show the popup, select the underlay type and choose how to count the statistics for this popup.
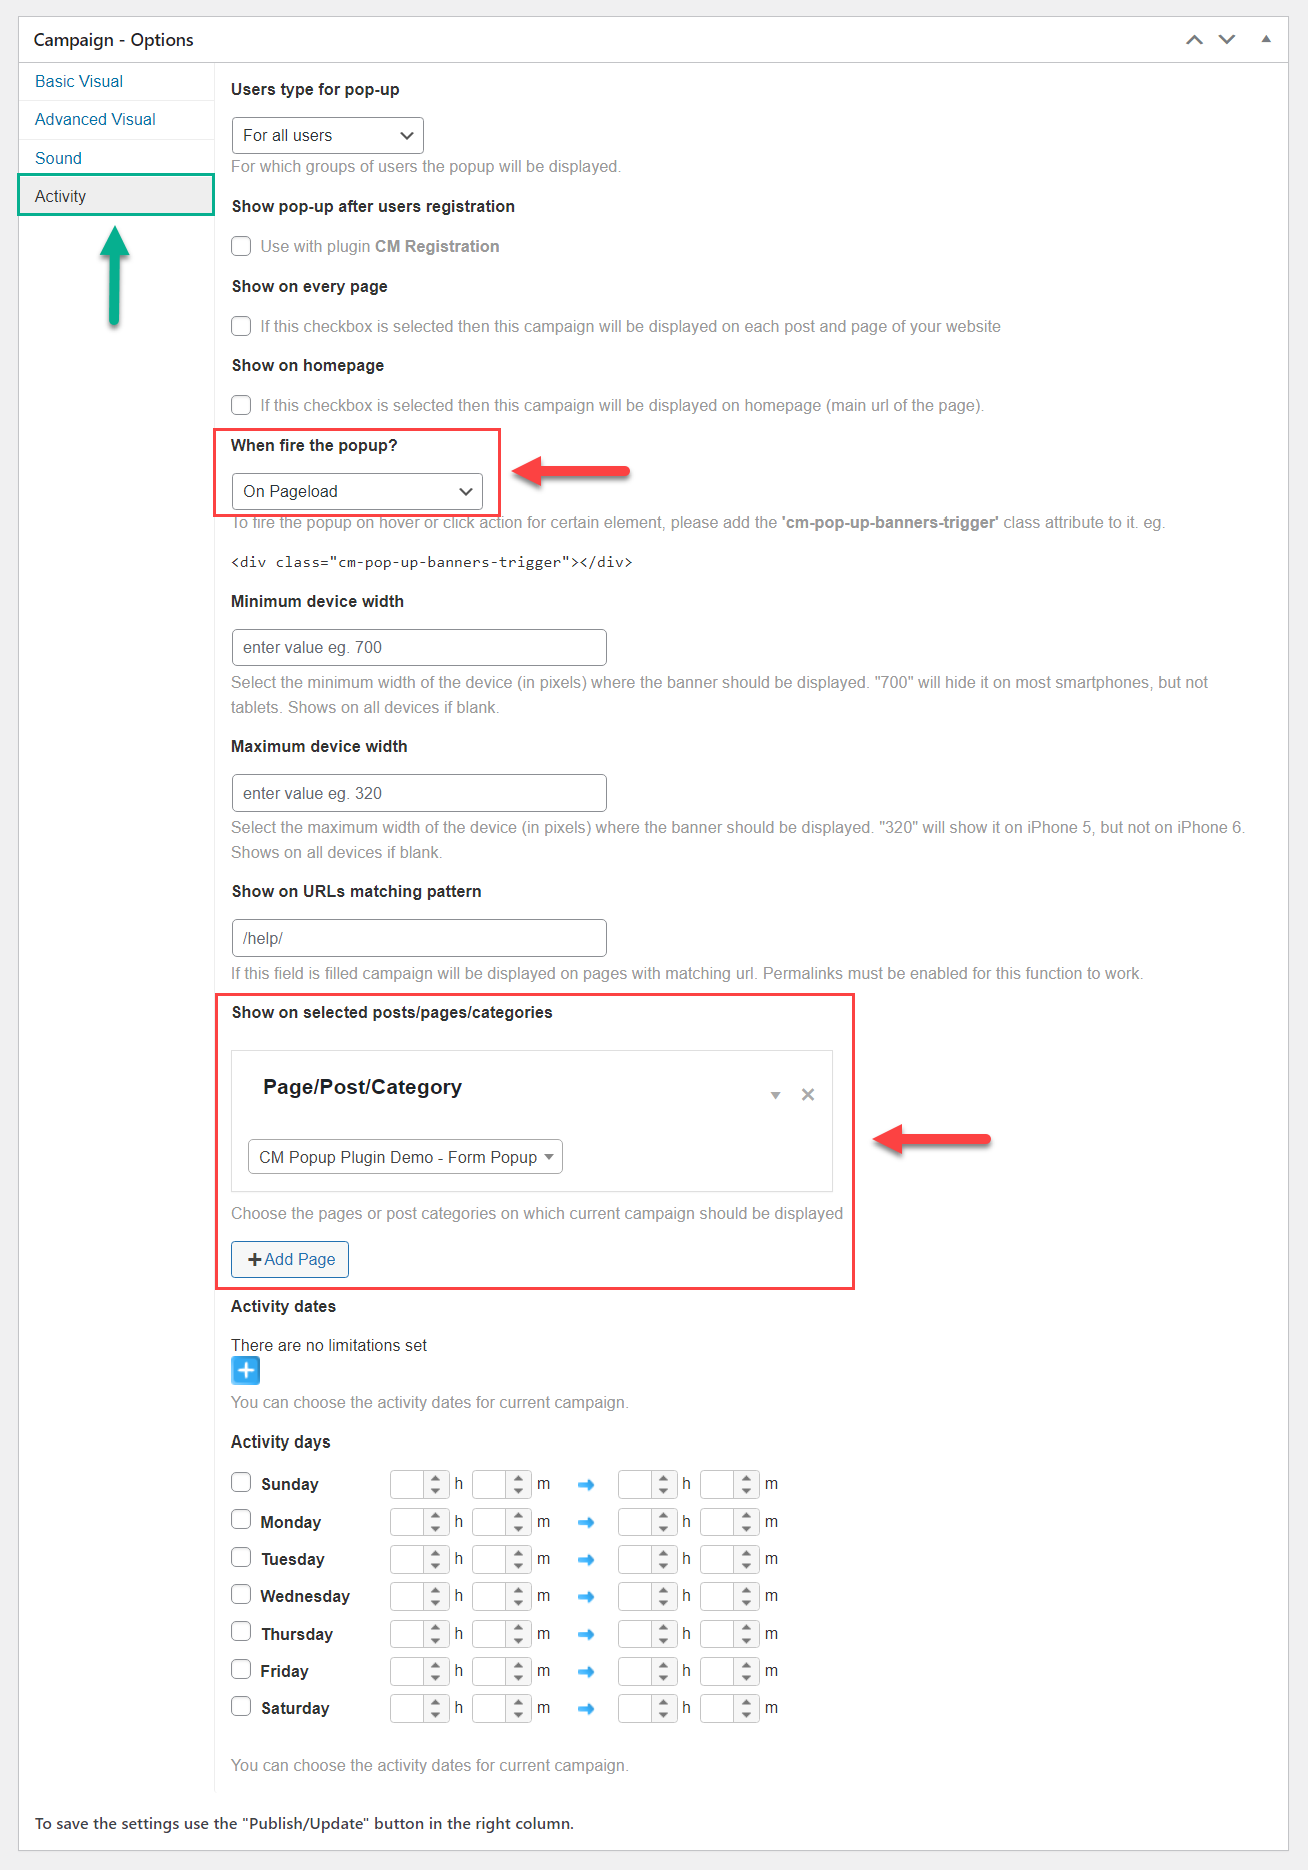
Last tab we used is "Activity". It allows you to define where, when, for whom and how to show the popup. This popup is shown to all users on pageload, and we specified the speicific page where to show it.
Additionaly you can define here the activity days/dates and time. It can be useful when you need to create a popup with specific time limits.
CreativeMinds Popup Plugin for WordPress helps you add responsive popups to your site with custom messages and effects. Include images, videos and rich text in multiple campaigns.
Create multiple campaigns restricted by date, targeted to logged-in users and triggered by leave intent.
For more information go to the plugin product page